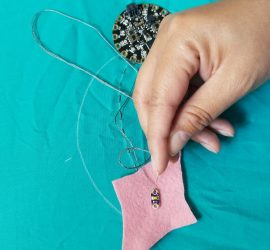
Need to troubleshoot your sewn circuits? Find some solutions to common issues here. Many of the guides you’ll find online refer the Lilypad E-textiles kit, but the concepts are the same for any sewable microcontroller, like the Circuit Playground Express. Reversed Polarity See Sparkfun’s guide to troubleshooting e-textiles Short Circuits Sew Electric has many helpful e-textile tips on their website and in their book Conductive Materials for sewing
Tech Support
7 posts

Circuit Playground is the name of the little round electronic circuit board that you are going to use as a tool to investigate and explore programming & electronics. Think of it as like a Swiss Army Knife or multi-tool for learning electronics as an art form! It is an all-in-one board so you can jump in quickly and do a whole lotta projects (It can slice, it can dice, it has lots of blinky LEDs!) Meet LadyAda, the founder of Adafruit. Check out the Adafruit website for more information on the CPX Interested in the the technical specifications of this micro controller? This short video from Core Electronics goes over all the components and what you can do with them.
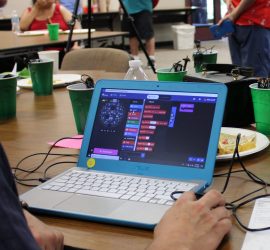
MakeCode is the drag-and-drop programming interface we use for programming the Circuit Playground Express. Find out more about MakeCode with Circuit Playground Express from Adafruit Microsoft MakeCode for Adafruit is a web-based code editor for physical computing. It provides a block editor, similar to Scratch or Code.org, and also a JavaScript editor for more advanced users. Try it now at https://makecode.adafruit.com/ ! Find tutorials on the front page of MakeCode

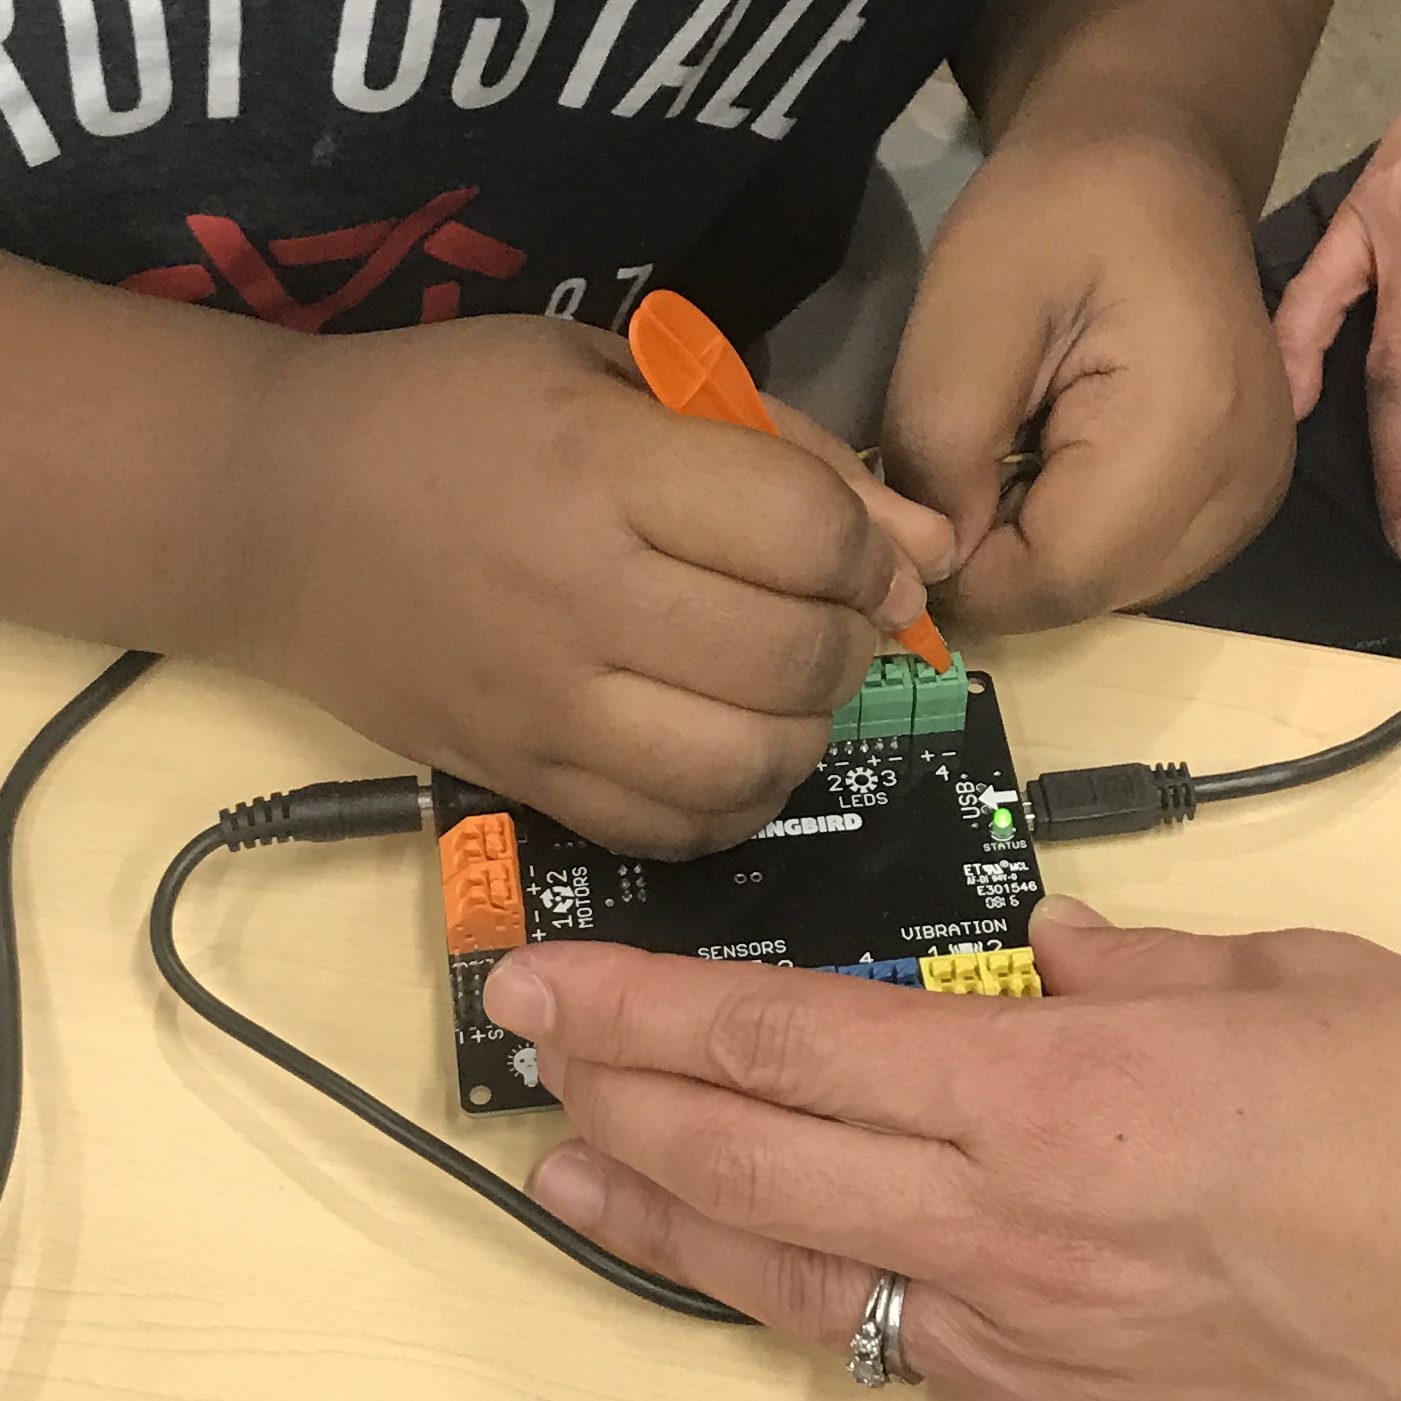
If you’re having trouble with the Hummingbird kit, check out some of these suggestions or visit the Birdbrain Technologies website for more information. Getting started Connect the Hummingbird to the computer with the USB cord Open BirdBrain Robot Server If the screen says Hummingbird Duo Connected, click on the Open Scratch button. If Hummingbird Duo is still grayed out, quit Birdbrain Robot Server. Check that your Hummingbird is connected with the USB cord, then open Birdbrain Robot Server again. Scratch 2.0 will open, and the Hummingbird blocks are under “More blocks” Check your physical connections: USB cord Is it plugged into the computer? Components (Lights, motors, and sensors) Are the wires in the right port? Is it connected all the way? Are […]
The Hummingbird LEDs and motors are output devices. Scripts in Scratch send commands to these devices to make something happen. The Hummingbird sensors, on the other hand, are input devices. They send information to the Scratch program. The Scratch program can use this information to make a decision or control a light or a motor. Find the most up-to-date information you need for using the Hummingbird Kit on their website All of the sensors are attached to the Hummingbird in the same way. A sensor can be attached to any one of the four ports labeled “SENSORS.” Each sensor has a red wire, a black wire, and a yellow wire. The red wire should be connected to ‘+,’ the black […]
It is very important to save your work often! Otherwise, you might lose something important. To save a new project in Scratch, click on File and then Save as (Save Project for Chromebooks using ScratchX). Give your project a name and then click Save. Once your project has a name, you can save it by going to File and then Save. DO NOT name your Scratch file HummingbirdStart. This will overwrite the blank file that should appear when you open Scratch from the Birdbrain Robot Server. See https://www.birdbraintechnologies.com/hummingbirdduo/scratch/program/#saving for up to-date instructions on the Birdbrain Technologies website.
For up to date resources on programing the Hummingbird with Scratch, visit the Birdbrain Technologies website https://www.birdbraintechnologies.com/hummingbirdduo/scratch/program/#program